Are you making the most of the latest Pinterest updates?
Pinterest recently launched business accounts. You can now either convert your personal profile into a business account or you can create a new business account. This is Pinterest giving businesses the long-awaited green light for using Pinterest for business and not just non-commercial purposes. And this is not the only update they have made – they have also made several other updates and launched new tools. I will now discuss how to use each of the latest Pinterest updates effectively to promote your business:-
1. Convert your account:-
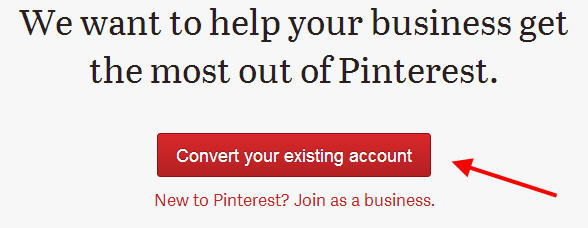
The terms of service for profiles state that you can use Pinterest for non-commercial purposes. The new terms of service for Pinterest business pages allow you to use Pinterest commercially. Therefore, if you want to directly promote your products and/or services on Pinterest, it’s absolutely necessary to convert your profile into a business page. This can be done by visiting this page and clicking on the big red “Convert your existing account” button.
Once you have done the above, you will be asked to fill in a few other details, to accept the new terms of service, and then your profile will be converted into a business account.
You will then be free to use Pinterest commercially to promote your business.
2. Verify Your Website:-
Usually, the website address on your brand page is displayed with a tiny image of a globe beside your profile image, but one of the new updates lets you display your entire web address, making it conspicuous to potential buyers/customers.
Also, a red tick mark appears beside it, indicating that the site’s been verified and is safe to visit.
You can verify your website by performing a very simple step.
On your settings page, click on the “Verify Website” button that can be found beside your website address.
In the page that appears, click on “Download the HTML verification file” link, which can be found on the first step. This will download the file.
Then perform the next step and upload the file you have just downloaded onto your web server (FTP).
After you have uploaded it, click it where it says “Click here” on the third step and your page will be verified. This should display your entire website address, along with a tick mark on your brand page.
3. Install the new Follow Button:-
Pinterest have also updated their follow button. It has a new look. The old button looked like this:
The new button looks like this:
So if you like the new button, install it on your website. This will liven things up by giving your website a new look. You also have a choice of four different buttons. Depending upon your preferences, choose your favourite one and install it on your website.
4. Install the Profile Widget:-
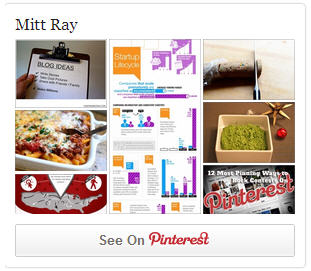
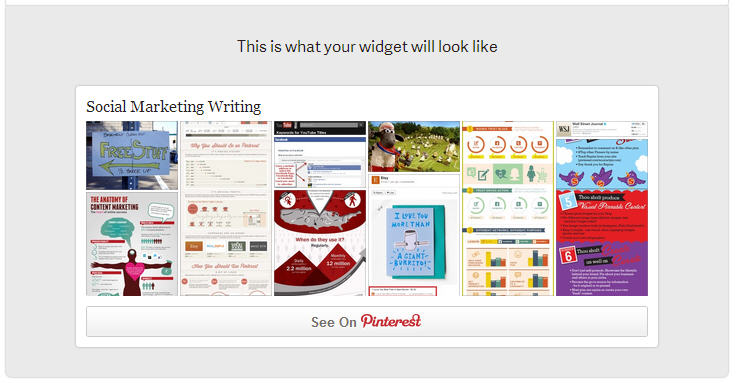
The profile widget does the same function as the follow button, but is more attractive. The follow button is small and just has the Pinterest logo or a few words written on it, but the profile widget is a lot bigger and displays up to thirty of your latest pins.
This button can attract more people than the follow button. If someone notices an interesting pin or pins on the widget, they can click on it and this will lead them to your page where they can check it out.
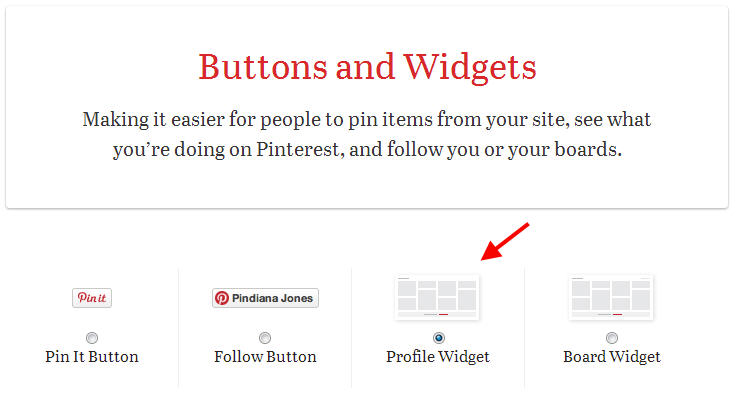
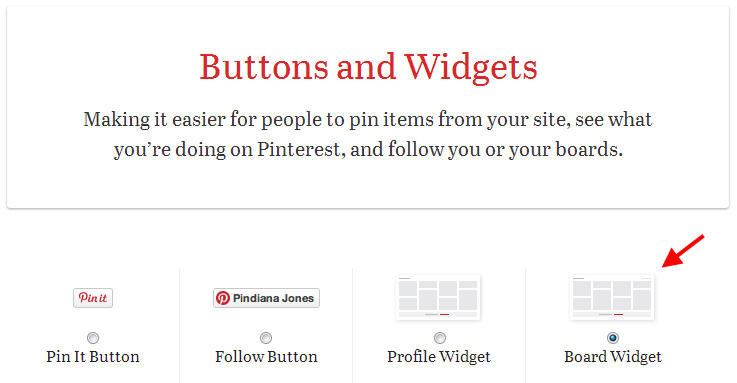
Installing this widget is easy. First visit the Widget Builder page and then choose “Profile Widget.”
After that, add your Pinterest brand page URL in the field provided and click on “Preview.”
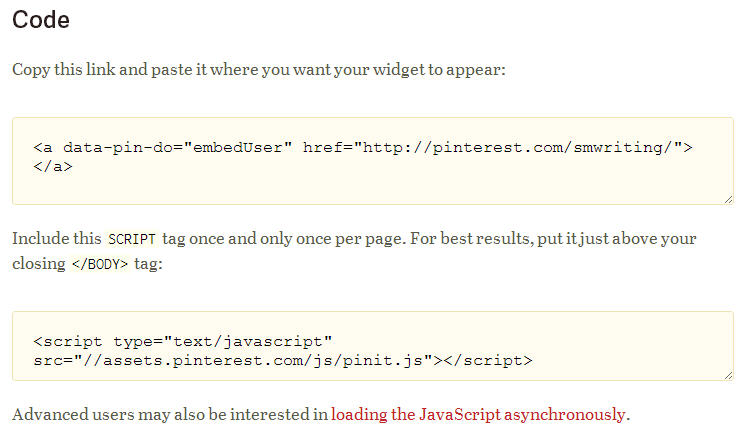
A preview of your widget will appear. If you like how it looks, copy both the codes that appear below and paste them on your website, one below the other.
Your widget will then be added to your website.
5. Try out the Board Widget:-
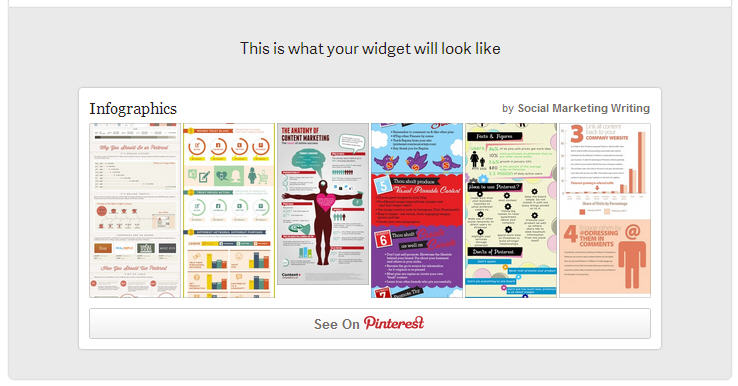
Another option is to try out the board widget. The board widget performs a similar function to the profile widget – it displays up to thirty of your latest pins on a board. This can be highly effective in helping you get more board followers. Many users prefer following boards rather than an entire profile, as they can subscribe to updates belonging to a specific topic that interests them. It can actually be a lot easier to convince people to follow a single board than an entire profile. So a board widget can be quite effective.
For this to work at its best, display the board widget of a popular board that is relevant to your target audience.
To install the widget, visit the Widget Builder page and click on “Board Widget” and then add your board URL in the field provided, and click on “Preview”.
If you like how it looks, you can add both the codes to your website, one below the other, and the board widget will appear.
I have clearly explained how to add the follow button, the profile widget, and the board widget in my Free Pinterest Marketing Video Tutorial. You can sign up for it for free by visiting this page.
6. Create Secret Boards:-
Have you tried to make some of your boards into secret boards?
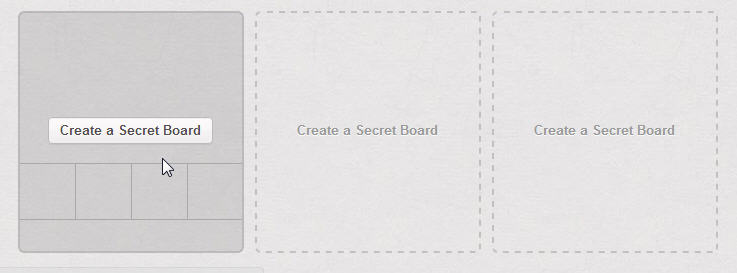
All the boards and pins you publish on Pinterest are public, anybody can see them. But with the secret board option, you can make three boards into secret boards. You will be the only one who can see the pins published on this board. This can be a great way to save or bookmark images and content you feel are personal.
Creating a secret board is easy – on your brand page, scroll down to the bottom and click on the “Create a Secret Board” box, you can then fill in your details in the form that appears and create the secret board. You will be the only one who can see all the pins you add to this board.
Now go ahead and take advantage of these updates to promote your business. I have explained how to make and take advantage of all the above updates (and a lot more) in the free video tutorial on How to use Pinterest for Business. This includes more advanced Pinterest marketing tips and an Ebook. You can gain free access to it by signing up for our blog updates (these are free, too).
Have you taken advantage of these latest Pinterest updates? Have I missed out any other important updates? I would love to hear your thoughts. Please leave your comments in the comments box below.
Would you like to create a Pinterest marketing strategy and use it set up the perfect page and get yourself followers, repins, traffic and sales? Then get The Complete Pinterest Marketing Bundle…
