Are your pins getting the attention they deserve on Pinterest? Would you like to create outstanding pins for Pinterest?
Pinning images and content is the best way to stay active on Pinterest. But if you just casually pin images for the sake of it, your pins won’t have the best effect. For your pins to have their highest impact you need to spend some time making sure each one of them is of the best quality and stands out from the crowd of Pins on Pinterest.
Not one, not two, but several features help build a quality pin. So I have provided 9 tips to create outstanding pins for Pinterest each and every time…
1. Always create outstanding images:-
The most prominent part of a pin is the image. It’s what most of your pin will comprise of. So if you want your pin to standout the main part you need to focus on is the image. You need to create an image that will be easily visible among the flood of pins. Visit your Pinterest feed and check what people are pinning right now. Think of what you can do to get your images to standout – maybe you could add a certain colour, a type of design, write something on it, etc. Another option would be to visit the popular section and create images that are similar to the popular ones. If they are working, yours might work too. If your images are more photo-based take some new pictures.
So get working and create unique and outstanding images. If you want to, you could also hire a good illustrator, designer or photographer to do the work for you. This will give you an extra edge.
2. Add some text to your images:-
I have found that adding text to images can be highly effective. In the text you can describe the image and the page it leads to. People shouldn’t even have to look at the image description to learn what it is about. If it is a recipe describe what recipe the image is for, if it is a blog post write down the title of the post, etc. For best results, make sure the text stands out on the image.
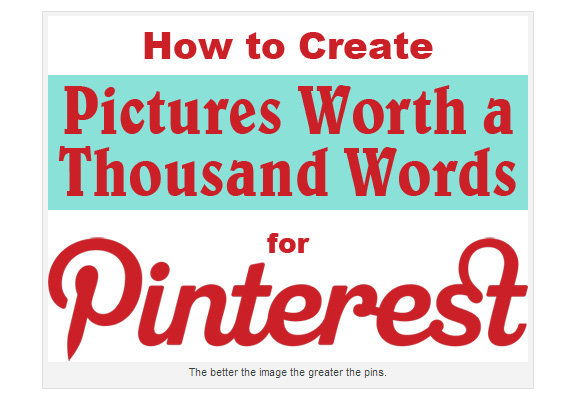
An example is the post 5 Ways to Create Highly Shareable Pinterest Pictures for Your Business by Kelly Lester, the CEO of Easy Lunchboxes. You will notice that there is a cover image for the post which makes it highly shareable on Pinterest. This is probably one of the reasons why the post has received more than one thousand pins.
3. Add some of your details too:-
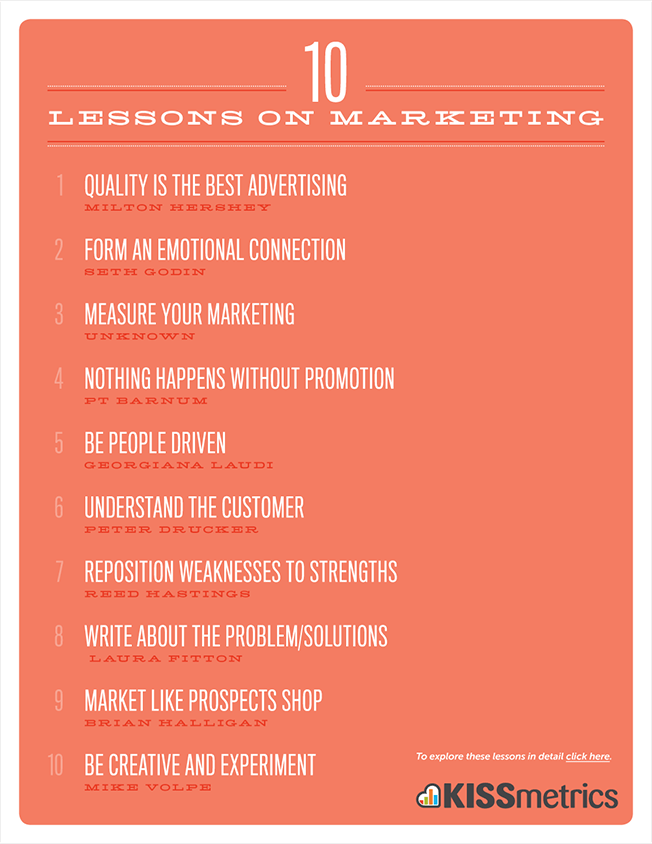
It would also be nice to add some of your details to your images. On the top and/or bottom edges of the image you can add details like company logo, website address, Pinterest brand page URL, twitter handle, etc. Adding these details will make it easy for people to find you, especially if they locate your image on another website or if someone else uploads your image onto their board.
An example is the above image, where KISSmetrics have added their logo right at the end. As soon as someone reads it they know who has created it and they can easily visit their website to learn more about them and to find similar work.
4. Write a great description:-
It is absolutely necessary to write good meaningful descriptions. Even if there is text on the image, adding a good long description will make it even better.
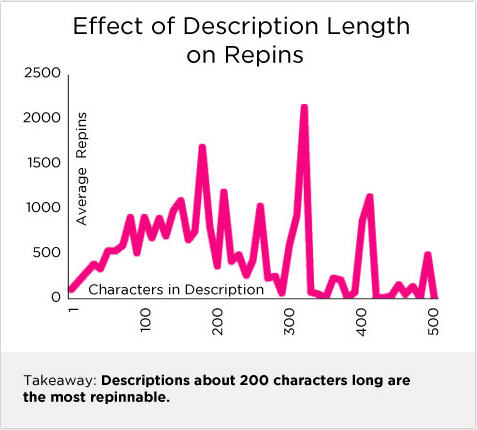
According to this study, pin descriptions which are around a length of 300 characters are most repinnable.
Also if you add relevant keywords to your descriptions they will be easy to find when someone performs a search on Pinterest, thereby by helping them receive more views. A great description can help you create outstanding Pinterest pins.
5. Include hashtags in the description:-
Hashtags can have a positive effect just like keywords. They can help your pins receive more exposure when those hashtags are searched. So whenever possible add hashtags to your pins. But don’t abuse it, using just two to three should be more than enough, otherwise your pin description might end up looking cluttered.
(Note: Would you like more advanced tips on creating outstanding pins? Then checkout The Complete Pinterest Marketing Bundle.)
6. Add the page URL to the description:-
If someone wants to learn more about where the pin came, so that they can check out the image more closely or to read the post or webpage, they will need to click on it, wait for the image to expand and then click on it again to visit the website. This can be very time consuming, especially for people with a slow internet connection. These time consuming steps might get them to abandon learning more about your pin.
If your aim is to get more people to visit the pin’s source, you need to make it easy for them and the best way to do this is by adding the URL of the page to the description. If people want to visit the post they can just click on the link in the description and visit the page. I have noticed that doing this can increase traffic.
For this to work make sure you add the entire URL and not a shortened one as they are usually considered as spam and can be rejected. Also make sure you always add the link to the page where the image can be found. Don’t make the mistake of adding another URL. I have seen people pin images from other sites and then add the URL of their website’s home page to the description. This can be frustrating for your followers, especially if they really want to check out that pin. Remember social media (including Pinterest) isn’t about only promoting yourself it is about sharing content, promoting others along with yourself and building relationships.
7. Add it to the right board:-
Every time you pin something, make sure you add it to the right board which belongs to the most relevant category.
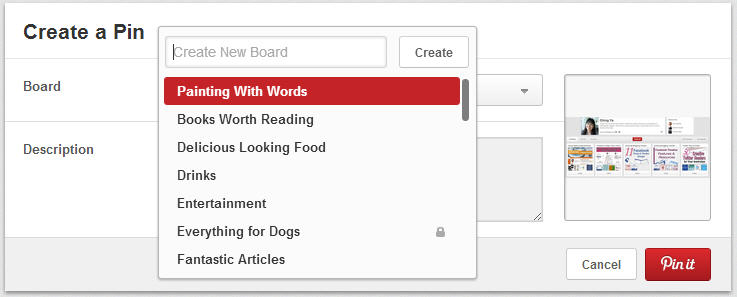
I have written more about the importance of categories in this post. Please make sure you read it. This will help your pin receive as much exposure as possible. If you pin it to the wrong board, the wrong audience will view it and it might not be very effective and it could also get marked as spam.
8. Pin at the right time:-
Timing plays an important role in social media. If you pin at the right time on Pinterest, more people will see your pins and this will lead to more repins, likes, comments, impressions and clicks which can improve your presence and increase website traffic.

According to Bit Rebels the best time to pin at, is between 2 PM to 4 PM in the afternoon and 8 PM to 1 AM in the night.
Also regularly pin at different times every day and check which time periods and days work well for you.
9. Add price if it is a product:-
Prices can be added to pins by performing a very simple step. First add the dollar sign ($) and follow it with the price of the pin in the description. If it is in pounds, add the pound sign (£) and follow it with the price of the pin. This can play a very important role if your pin is a product. I have noticed that many businesses avoid adding prices to their pins.
If you aren’t doing it, here’s why you should – when you add the price it will help you attract the right audience. For e.g. you have the pin of a wonderful dress on one of your product boards and it costs let’s say about $200. Very few people will be willing to pay for that and many of the clicks on it will not turn into results, but if you add the price to the pin most people who click on it to visit your website will know the price before hand and will be more likely to buy it. Adding the price will help you attract the right audience and will increase the conversion rate. This technique can also help you direct people to products that are on sale.
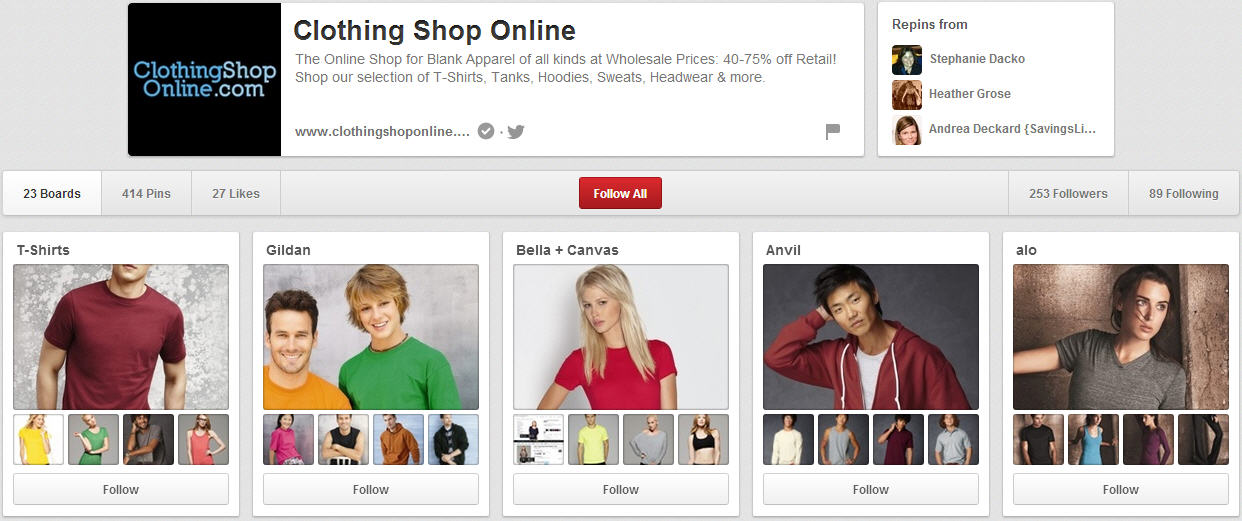
Clothing Shop Online makes the most of this technique by adding prices to the pins on their boards. It’s a great way to market the clothes on their boards.
So follow all the above tips to create effective pins which will be both, highly shareable and clickable.
For more Pinterest marketing tips, watch our Free Pinterest Marketing Video Tutorial which can be accessed for by Signing Up to our blog updates.
What do you do to create outstanding pins for Pinterest? I would like to hear your thoughts. Please leave your comments below.
Would you like to create a Pinterest marketing strategy and use it set up the perfect page and get yourself followers, repins, traffic and sales? Then get The Complete Pinterest Marketing Bundle…
