Do you want to verify your website or blog on Pinterest?
Verifying/claiming your website on Pinterest is a step every brand page must follow. When you verify your website a globe with a tick mark will appear beside it, indicating that the site belongs to you and that it’s safe to visit it.

Another great benefit is that it unlocks the free Pinterest analytics feature, which can be used to drive more website traffic. You can learn more about how to use this tool by reading the post The Complete Guide to Using Pinterest’s Web Analytics Tool.
Also, when you verify your website, your Pinterest account details will be added below every pin pinned from your website as you can see in the following screenshot (this is a pin from my website).

People can click on this and checkout your Pinterest business account. This can get you a lot of Pinterest followers.
So, here’s a quick and easy guide on how to verify your website on Pinterest. I have covered how to verify websites, WordPress blogs and Tumblr blogs…
The first thing you need to do is, click on the three dots icon located in the top right corner of your Pinterest brand page and then click on ‘Settings’.

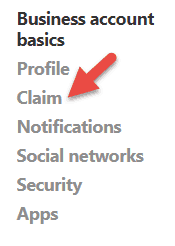
This will take you to the ‘Edit Profile’ section. Here click on ‘Claim’ in the menu on the left.
Now add your website in the ‘Claim your website’ field provided and click on the red ‘Claim’ button.

A popup will appear asking you to pick a claim option. You can either go with Add HTML tag or Upload HTML file.
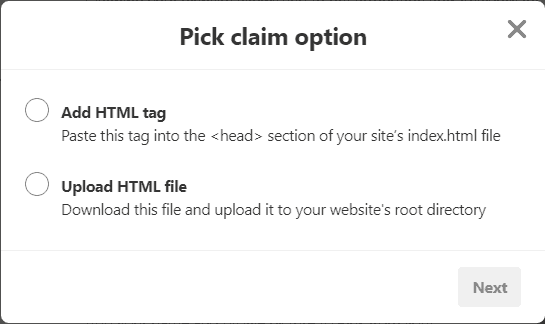
Verifying your website on Pinterest by adding an HTML tag
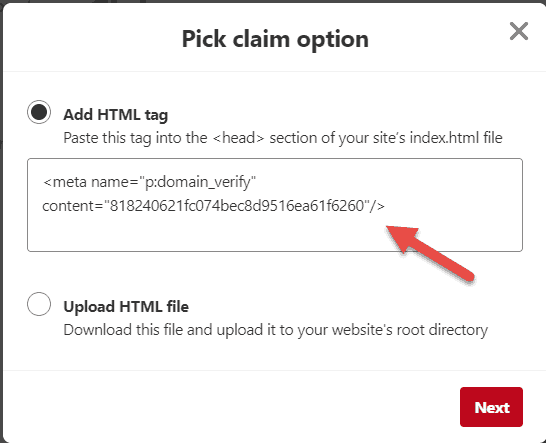
If you prefer the ‘Add HTML tag’ option select it.
A line of code will now appear. You need to copy this and paste it into the the <head> section of your site’s index.html file.
If you have no idea where this is located on your website, you can follow the steps mentioned in the below video. This video shows how to add the Google Analytics Tracking ID, but the steps you follow for copying and pasting the code will be the same. You are only adding a different line of code.
After you add the code click on the red ‘Next’ button and then on the red ‘Submit’ button in the new popup that appears.
If your website is running on WordPress you can find your head tags by visiting your dashboard and hovering over ‘Appearance and then clicking on ‘Editor’.
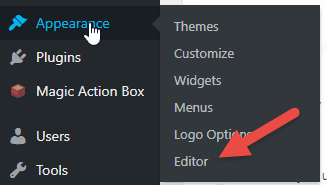
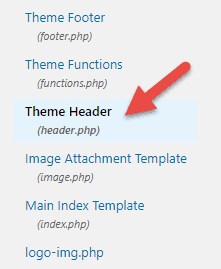
After that click on ‘Theme Header’ on the Editor menu on the right.
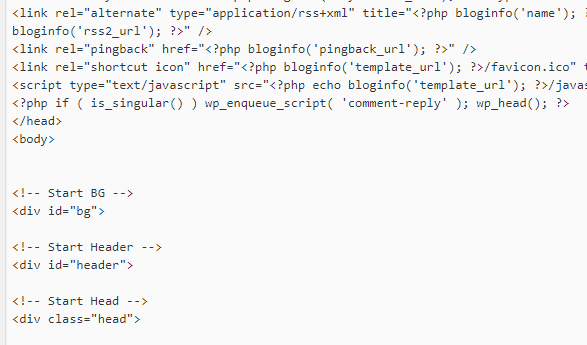
You will now be able to see the head tags in the editor and you can add your code.
If your site runs on an easy to use WordPress theme you will need to add your code a little differently.
For example, my site runs on a StudioPress theme.
So, to add my code I need to hover over ‘Genesis’ in the left menu and then click on ‘Theme settings’ in the dropdown menu that appears.

After that I can simply copy and paste my code in the ‘Header Scripts’ box that appears when I scroll down.

Studiopress themes make various other WordPress tasks much simpler. So, if you are looking for an easier way to use WordPress I recommend that you switch to it. I have been using them for years and I am very satisfied.
I actually get to use them for free as my site runs on WP Engine WordPress hosting. When you use their hosting they give you free access to the Genesis framework and 35 Studiopress themes.
Getting back to the Pinterest verification: After you add the code you can click on the red ‘Next’ button.
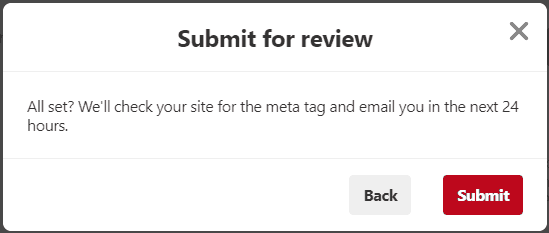
Then a new popup will appear. Click the red ‘Submit’ button on this to submit for review. Pinterest will then take 24 hours to verify your WordPress blog. They will email when it is done.
If you prefer using a plugin to verify your website, you can use the Pinterest Verify plugin.
If your blog runs on Tumblr you can follow the same process above and copy and paste your code. To find the head section of your Tumblr account login first.
Then go to the settings page and choose the blog you want to add it to. They will be listed under ‘blogs’ in the menu on the right.

Then click on ‘Edit theme’

And then on ‘Edit HTML’

You can then add your Pinterest code here.
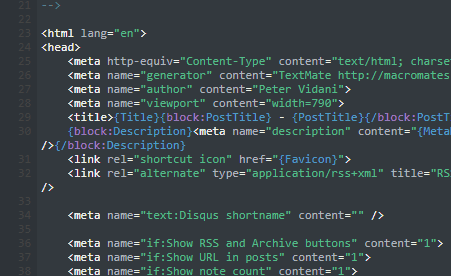
And then click on ‘Next’ and submit your details for a review to Pinterest.
Pinterest website verification by uploading an HTML file
To verify your Pinterest website with an HTML file first choose the ‘Upload HTML File’ option.
A red ‘Download’ button will appear.
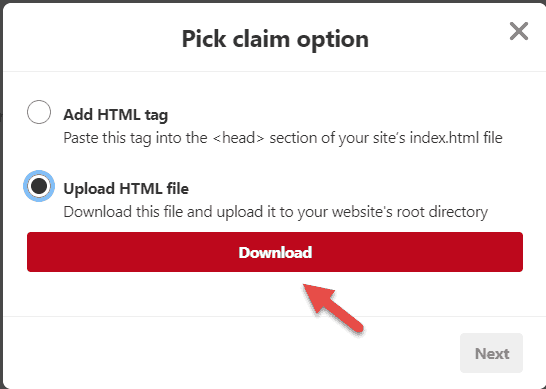
Click on it to commence the downloading of the HTML file. After you download it you should upload it to your website’s root directory.
To do this you need to login to your website’s FTP. After that you should find your directory folder for the website you plan to verify and upload the file into the main directory.
If you are unsure what an FTP is or how to use it you can learn about it by reading this post on how to use Filezilla FTP client or by watching the below video…
After you upload the file click on the red ‘Next’ button.
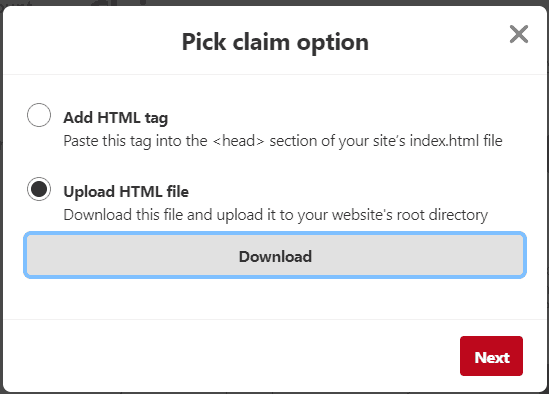
Then click on ‘Submit’ on the next popup.
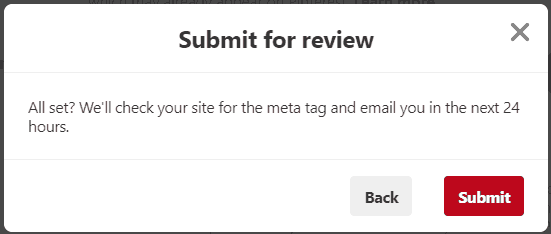
Pinterest will then review and get back to you within 24 hours via email.
Once verification is complete you will notice that the globe sign with a tick mark appear beside your website in the ‘About Box’.

Also your Pinterest website Analytics feature will be unlocked. You can learn more about how to use it, by reading the post The Complete Guide to Using Pinterest’s Web Analytics Tool.
For more Pinterest marketing tips, watch our Free Pinterest Marketing Video Tutorial which can be accessed for by Signing Up to our blog updates.
How did you verify your website on Pinterest? What benefits did you notice after verifying your website? Please leave your comments below.
