After you write and upload your blog posts, it is important to add several images to accompany your posts.
The images will not only break up text and beautify your posts, but they can also help with driving traffic from social media.
A study from Buzzsumo found that posts that contain at least one image get more traffic from Facebook and Twitter. Also, people will only be able to share your posts on Pinterest (the second highest referrer of social media traffic) if it contains an image that is at least 100 X 200 pixels in size.
Adding images can also help your content get more backlinks as found by Moz. This can boost traffic from SEO as backlinks play a key role in your posts’ search engine performance.
Therefore, today I am going to show you how to find quality photos to use in your blog posts…
Figure out what images will suit your blog:
Before you begin looking for images online you need to first figure out the width of your blog i.e. the post area where the text and images appear (without the side bar). This will help you download and upload images of the right sizes. You can easily find this out by checking your theme’s specifications.
If you can’t find this information, just take a screenshot of the post area using a good screenshot tool like Snagit. The width of the screenshot will be the width of your blog’s post area.
Most blogs will have a width of around 600 pixels while some like my blog are a little wider. This allows me to upload wider images. If your blog doesn’t have a side bar you should be able to upload much wider images.
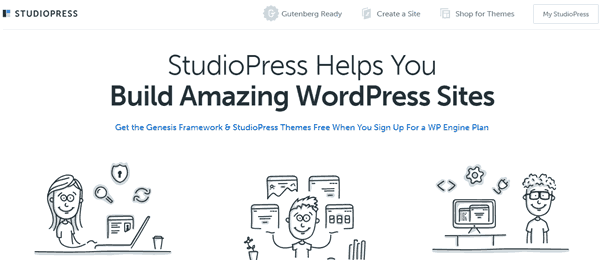
I use the Authority Pro Theme from Studiopress. It has a wider arear which lets me upload bigger images. You can get this theme and 34 more for free when you use WP Engine to host your blog.
Search for the photos:
After you know your blog’s width you can begin searching for images. You should be able to find images on any topic/niche as there are millions of photos available online. Some of them are free while you need to purchase others.
If you are just starting out and aren’t yet making any revenue from your site, you can go with the free option and begin looking for the images. But if you have been doing this for a while I recommend that you use premium images as fewer people use these images. You will be more likely to standout with them.
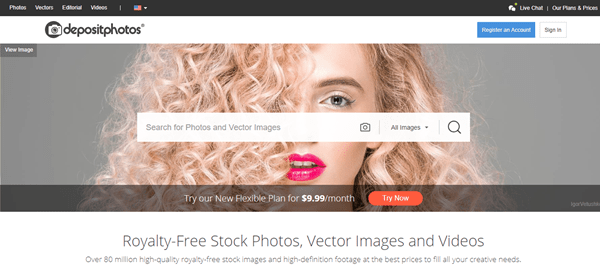
A site like Depositphotos which provides vector illustrations and photos should be a great place to start with. You can not only purchase photos here, but also videos.
If you have an even bigger budget you can hire a photographer to take the photos just for you. This will ensure that you have unique images for all your blog posts. If you are good at taking photos you can take these photos by yourself.
Optimize images:
After you have downloaded your photos you can begin optimizing them for your blog posts. You should start this process by reducing the size of your photos. When your photos are larger in size they not only consume more data, but they also slow down your site.
And when your site takes more time to load it will lead to more abandonments.
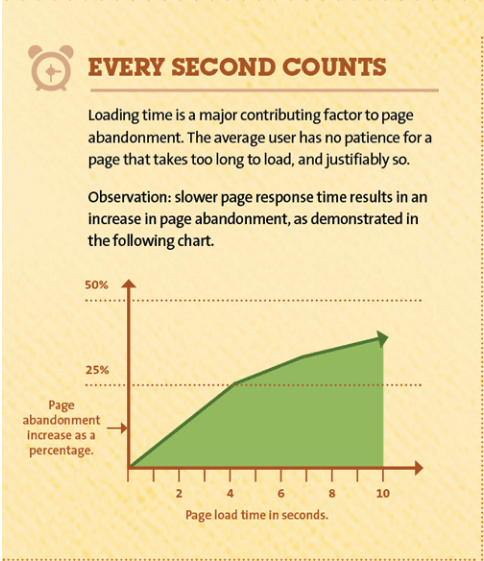
This will decrease both traffic and conversions. Most people expect your site to load within a few seconds so reduce the size of your images before you upload them.
You can also use a plugin like Shortpixel. This tool will automatically reduce the size of your images before your posts go live. It will also ensure that the images look their best.
After you reduce the size and ensure that the images are of the right dimensions (you can always edit the dimensions later, but doing it now will reduce file size) most of the images should be ready for upload. But you should make modifications to a couple of them so that they look good for social media sharing.
One of these images should be optimized for Facebook and Twitter and one for Pinterest.
For Facebook and Twitter take a landscape shaped image that is 560 X 292 pixels and add the title of the post and your branding like I did for the first image in this post. And for Pinterest take a portrait shaped image that is around 600 X 900 pixels and add the post title and branding. An example is the below one I create for this post.
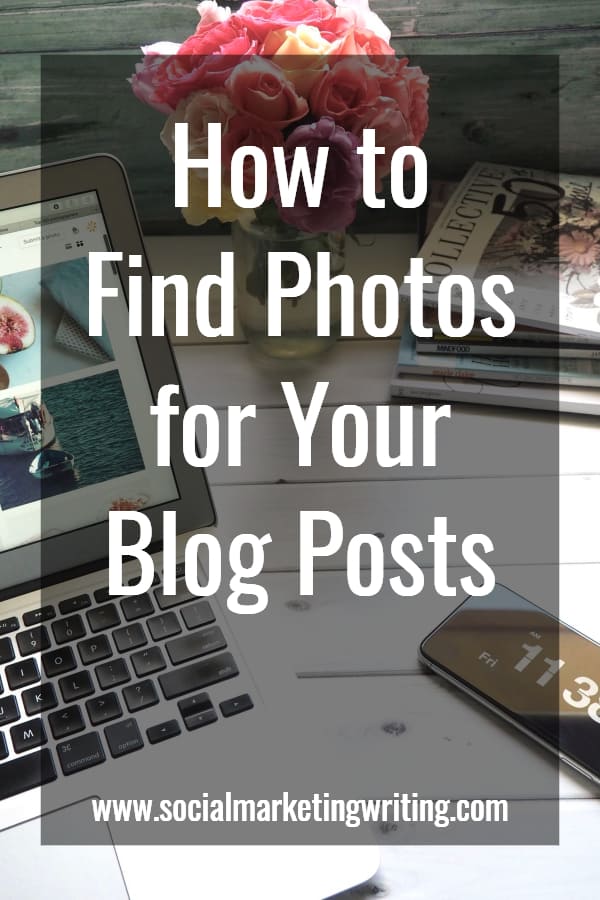
Next set your social share buttons to pick these images while sharing. You can set this up using Yoast SEO or Warfare Social.
Now use these tips to find photos for your blog posts…
These are all the steps you need to take to find photos for your blog posts. Start by assessing your blog’s width as the images you pick should be of the right size. After that use both free and premium stock photo sites to find quality images. If your budget allows it, you can also hire a photographer.
After you find your photos optimize them and upload them onto your blog posts before you hit publish.
These photos will beautify your posts and ensure that you get maximum traffic from.
Here are 100 Social Media Optimized Images you can download for free. You can use them in your blog posts or directly share them on social media. They are royalty and credit free. You can also modify them any way you want.
How do you find photos for your blog posts? Did I forget to include any important steps? Please leave your comments below.
If you found the above post on finding photos for your blog posts useful and feel your followers will too please share it with them by using the share buttons below.

