A step by step guide for creating social media visuals that generate engagement, traffic, and sales
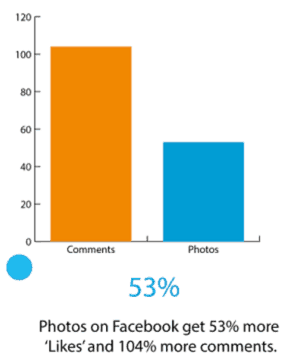
If you want to generate more engagement, traffic, and sales from social media these days, you need to know how to create social media images. As images drive the most engagement on social networks like Facebook and Twitter.
Then there are other top networks such as Instagram, Pinterest, Snapchat, etc. where you can only post images and videos.
So, today I am going to show you how to create social media images that generate more engagement, traffic, and sales.
Once you follow my tips and create your images you will begin seeing likes, comments, and clicks on your social media updates.
So, let’s get started…
Choose one goal:
Before you create your image, you need to choose one goal. Quite often, when people create social media images, they try to aim for multiple goals. They try to get more brand impressions, engagement and traffic from every image they post.
And in their quest to achieve multiple goals, they add multiple calls to actions to their images and post descriptions. This ends up confusing their followers as they have no idea what they’re supposed to do after seeing the image. As a result, they take no action and the post goes to waste.
This is why, you should always have one goal per image. If you want to get more brand impressions, you need to choose a goal like increasing your reach and followers.
While if you want to nurture your audience on social media, you should set a goal like generating more engagement. Finally, if you want to get more leads and sales, you need to create images that promote a landing page where people can sign up or buy something.
For an example on how to create content depending on the goals, let’s look at these posts from Birchbox.
Here’s a post where they share an image with a tip on skincare. These types of images work best when you want to increase engagement.
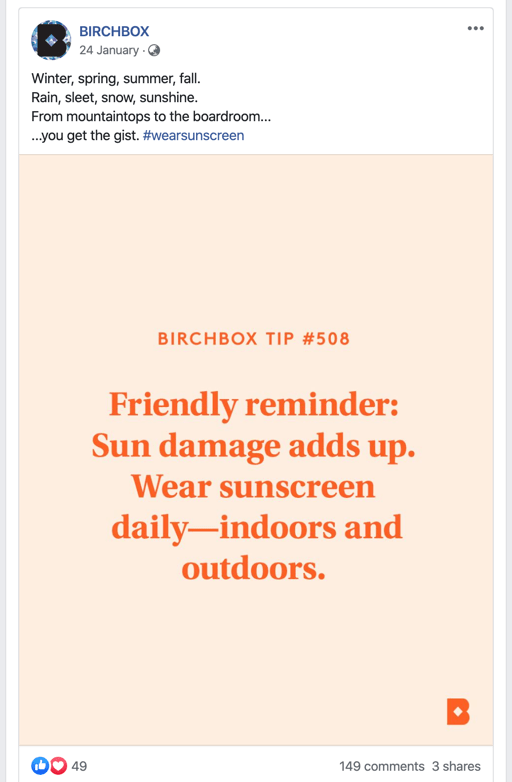
As there is nothing directing the person away from the photo. As they remain there on the network, they are more likely to like the post or comment on it or share it. The amount of engagement you get will depend on the quality of the image and how well your audience can relate to it.
You don’t have to always share tips, as you can also share quotes like this one from Lululemon.
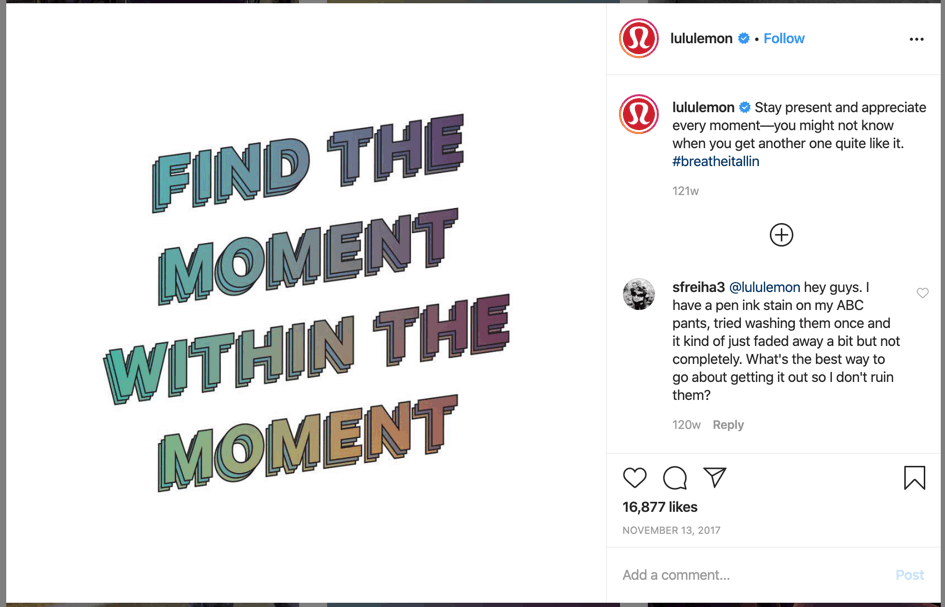
If you keep it relevant and don’t include anything that will distract the person away from the image, you will generate more engagement.
While if your aim is to drive traffic, you will need to create images that will lead people to your website. Like this photo from Birchbox again.
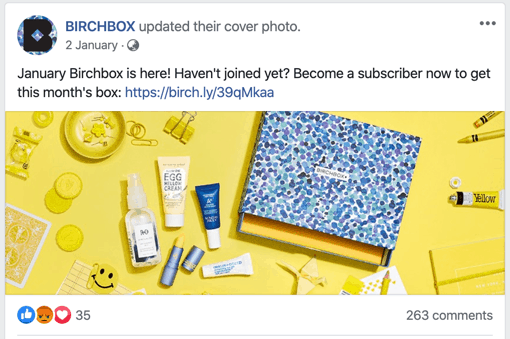
Pictures like this one will not drive a lot of engagement but will get you a good amount of traffic. As they are all about where the image leads to. In this case, it is a landing page where they can buy the product. The post consists of a picture of the box of products they are selling and there is a call to action along with a link that asks people to buy the product.
You don’t always have to share photos like this as you can also simply share photo links like this one from Grammarly that contain part of the title of the page the image leads to.

You can add the whole title if you prefer. But the only problem with adding this much text is that it will become problematic if the post does well and you want to boost it with advertising.
Facebook has a 20% text rule. If an ad image has more than 20% text, it will limit reach. Images like the above one exceed it.
Pick a background social media image:
Once you know have a goal in mind, you should pick a background image. Picking a background image to start with makes things a lot easier and quicker. The background image you pick can be a photo or a pre-designed image.
The dimensions of the image you pick should depend on the social network you are creating it for and what you plan to use it for. If you’re creating it for Facebook or Instagram you should use a square image for engagement while for Facebook link images landscape images work best.
And for Pinterest taller images work better.
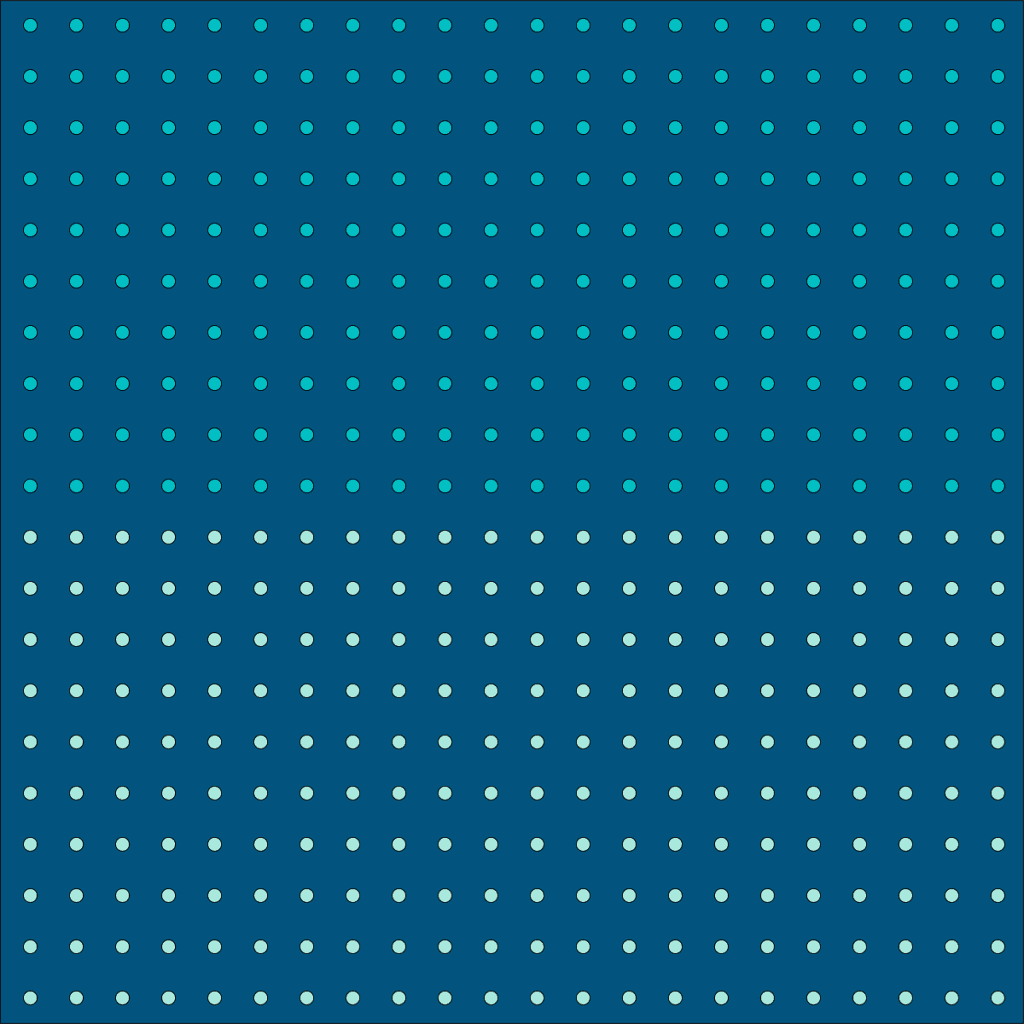
For this tutorial, I will use a square image (from my polka image bundle) as they work for both Facebook and Instagram. So, go ahead and get your image. If you haven’t got one, you can download my polka image bundle for free. It will make it easy to follow along.
You can use anything you like. It could have a floral pattern or some other shape or it could be a photo. To maintain brand consistency, you can also add logo to photo assets, to ensure visual identity remains clear and professional across all platforms.
I will be using the blue image for Facebook (it works for Instagram too. You just have to resize it). This one…
Next, I will open up my image editor. You can use an online photo editor like Canva or an alternative like Photoshop. I am going to be using Canva for this tutorial as it is free and has many features that make it easy to create social media images.
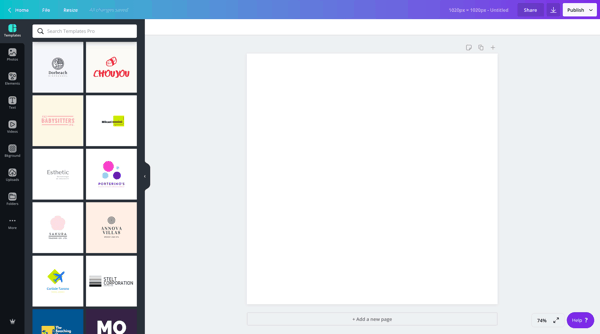
So, go ahead and upload your image into the editor.
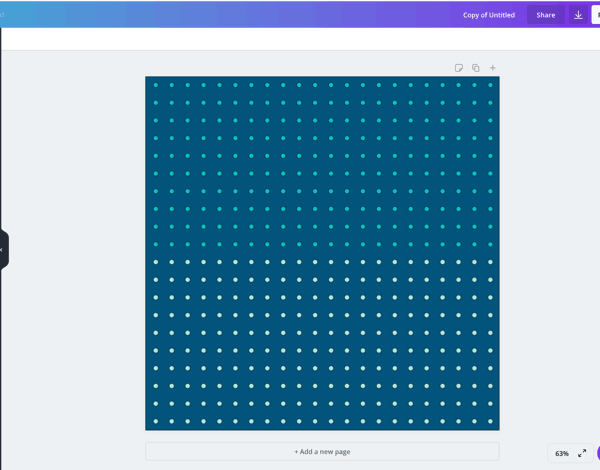
After that, you can begin designing it.
Add an overlay:
The first thing I will do is add an overlay. This is because this is a multi-colored background. It’s got a dark hue mostly with specs of light polka spots. So, if I add light or dark text directly to it, it won’t look good.
Adding an overlay before I add the text will be helpful.
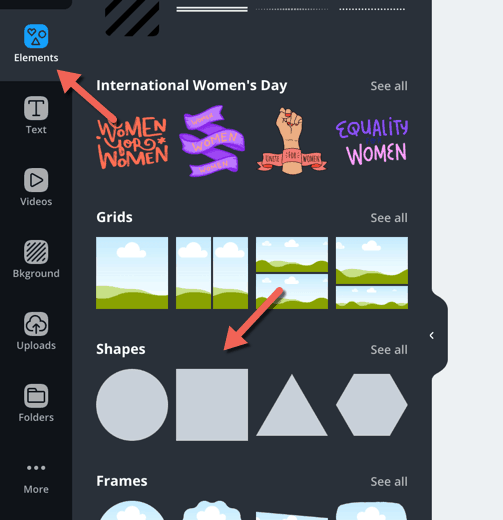
So, I will go to elements and then to shapes and choose the overlay. You can go with any shape you like.
I went with a square overlay and changed its color to white. As the background is mostly dark blue. If you use a light background, it will be better for you to use a dark overlay like black.
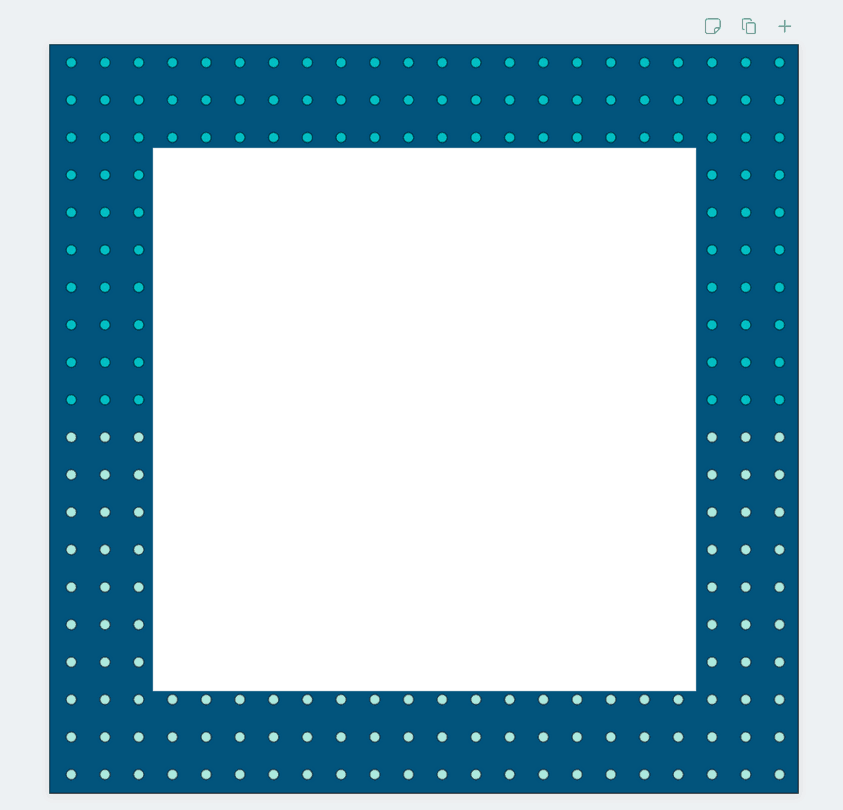
You can use an overlay of a color other than white or black if you prefer. But when getting started it is better to stick to neutral clours like white and black.
I also usually change the opacity of the image so that a bit of the background shows.
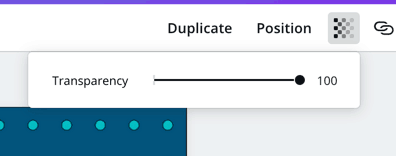
You can do this by using the settings on the top right.
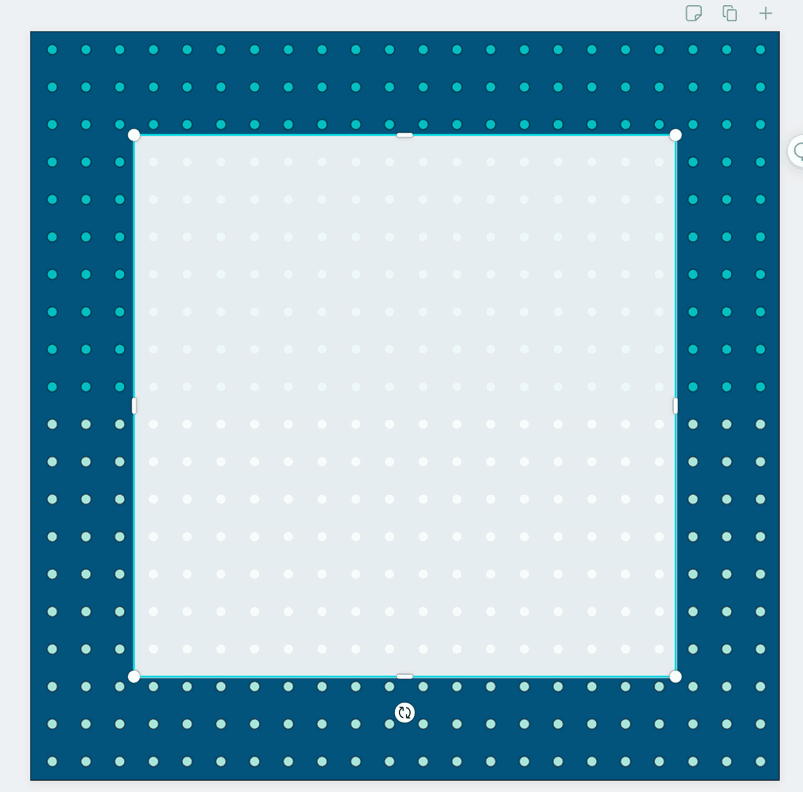
My image looks like this after I adjusted the opacity.
Bonus: Click Here to Download 22 Free Easy to Use Social Media Visual Templates for Instagram Facebook, Twitter, Pinterest, LinkedIn, YouTube and more!Add your text:
After you are done with adding the overlay, you can move onto adding the text. For this image, I will simply add a quote as my goal is to drive more engagement.
I am going to use the quote “For every minute you are angry you lose sixty seconds of happiness.” from Ralph Waldo Emerson.
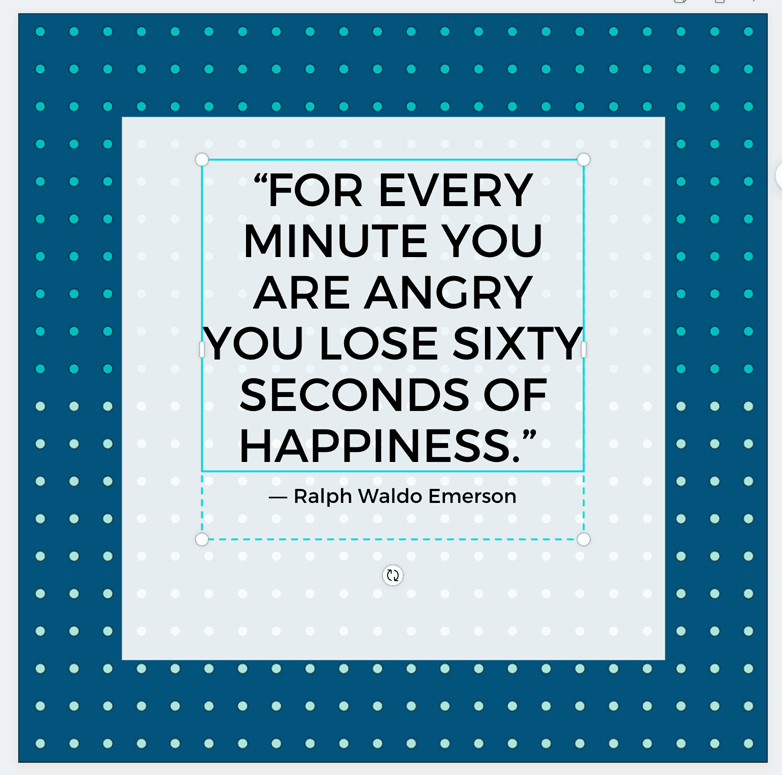
I used a simple easy to read font called Montserrat. You can use a fancier font if you prefer, but make sure that it is easy to read. And limit the number of fonts you use per image to 2 or 3 if you plan to use multiple. You can use a tool like Canva’s font combinations to find fonts that pair well together.
As you can see above I went with black text color as it contrasts the white overlay. But you can use a color that complements the background image’s color or just use the background’s color if you don’t really want to experiment with too many colors.
To find the background color you simply have to click on the font color icon.
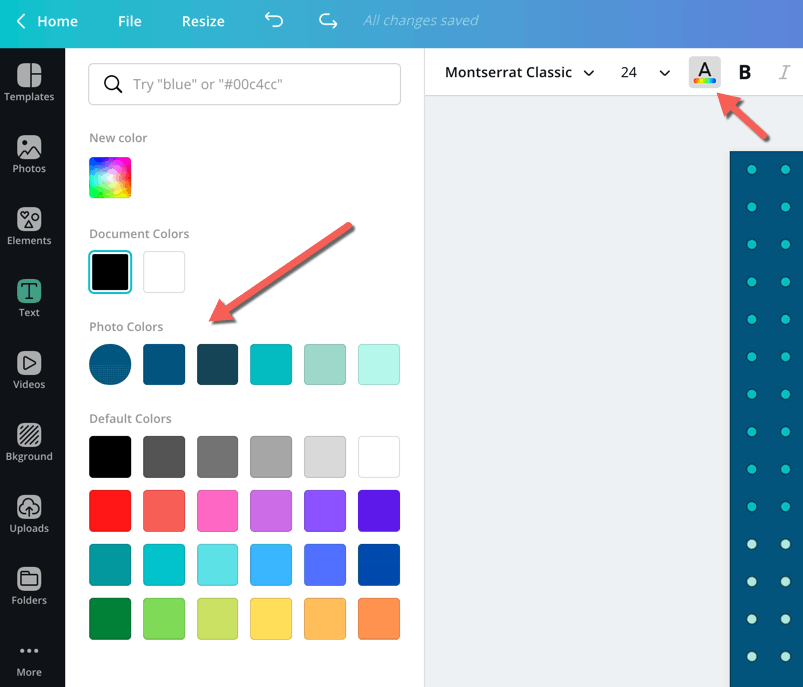
This will show you all the colors in the photo.
And you can add the one you want by selecting the text and clicking on the color.
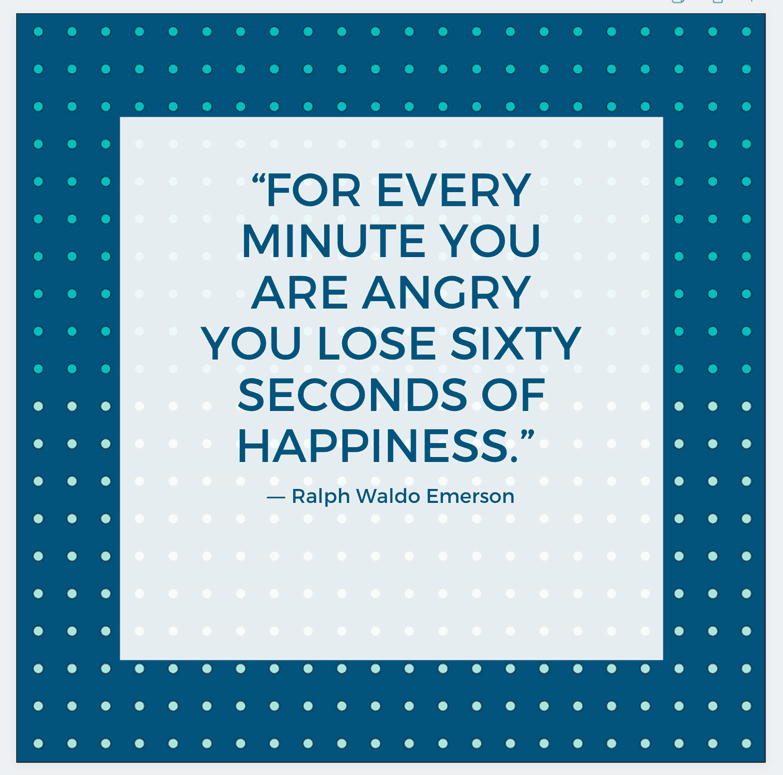
As you can see this looks a lot better than just going with a neutral color like black.
Add icons and branding:
After you add the text you can finally add the icons and branding. For the icon, pick something relevant. As the quote is on happiness I will use a heart icon. And for the branding, I will just add my website address. You can use your logo if you prefer.
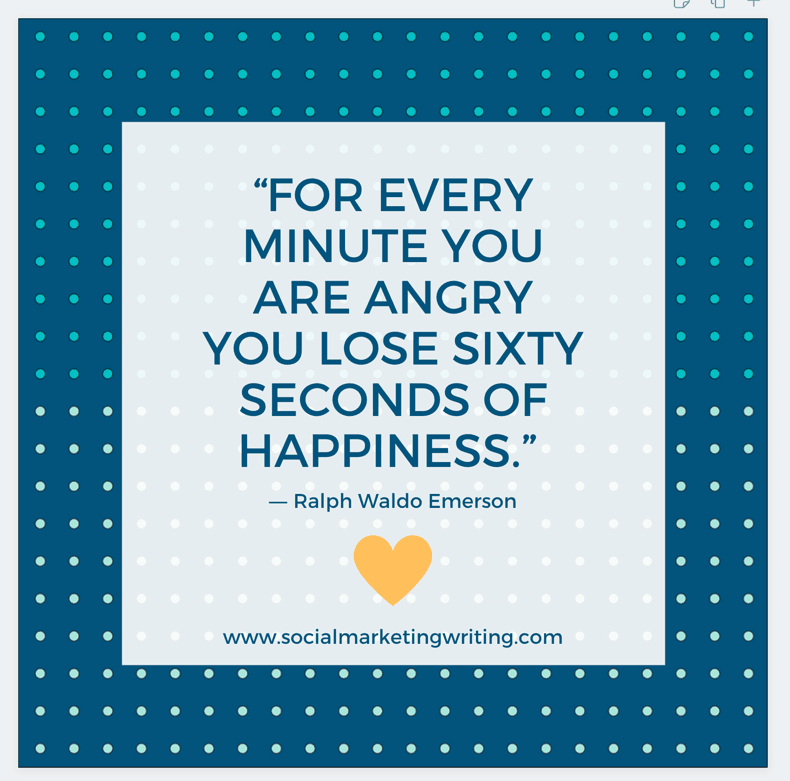
I made the heart yellow as it is a color that complements blue. You can also keep it monochromatic and use the same blue color for the heart.
This is the step by step process you can use to create a beautiful social media image any time. This can be for a designed background image like the above or a photo like the below one…
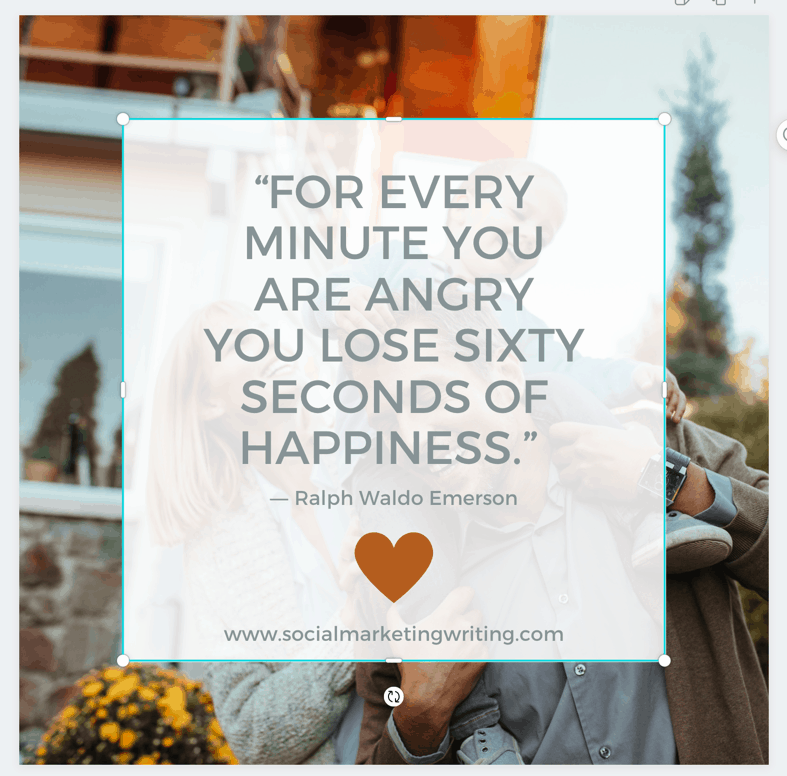
It’s that simple.
So, go ahead and give it a try.
You can find more background images in my content library. And you can download some ready to use social media design templates by clicking on the below link…
Bonus: Click Here to Download 22 Free Easy to Use Social Media Visual Templates for Instagram Facebook, Twitter, Pinterest, LinkedIn, YouTube and more!
If you found this post useful, please share it with your followers by using the share buttons below.
