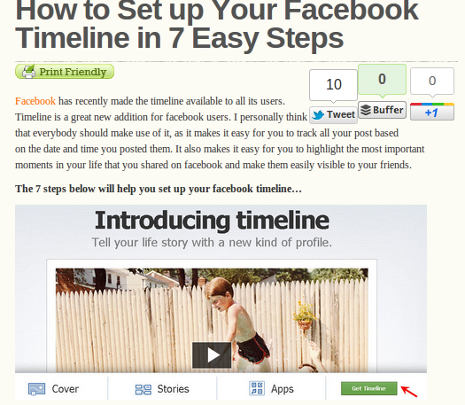
It has been said many times that online readers appreciate short sentences, small paragraphs and lots of white space to make blog posts easier to read. To avoid being crushed under the avalanche of content now available, online readers scan text quickly, looking for pertinent details. Apart from breaking up your text into bite-sized blocks, adding images is another great way of avoiding the Great Wall of Text that turns readers off.
Here are 5 tips to help you get the most out of images in your blog posts.
1. CONSISTENT SIZE
Cropped or resizing images to the same size, creates a consistent, coherent look in your posts. For most blog layouts, image width will be the most important measurement to maintain consistency with. Use trial and error to find out the image width that suits your blog’s layout best, and then stick to it with all future posts.
2. RELEVANT
Using images in your blog posts will give them colour and variety, as well as offering a visual aid in developing your point. When choosing images, however, finding relevant images is imperative. Using pictures that express the point you are making, or take it further, will improve your argument and give readers a clear idea of what you are explaining.
3. HIGH QUALITY
With image sites like Flickr and even Google’s image search , finding high quality images that are free for public use is both easy and fast. The higher quality of the images you use, the better your blog will look overall, and the more professional your posts will seem.
4. ATTRIBUTION
When finding images to use online, especially if you are after high quality pictures, you will most likely be using those released under a creative commons licence. These are images that are free for public use, depending on the way they are used. Ensuring you check and follow the requirements of the licence of your chosen images will keep the creators happy, and prevent you from running into trouble later on. If you want to use images that are not released under a CC licence, make sure you get in touch with the owner to ask for their permission first.

credit: http://www.flickr.com/photos/libraryman/2799490154/
5. ANNOTATED SCREENSHOTS
Occasionally, screenshots will be required to explain your point sufficiently. Using an image editing program, or even a screenshot tool like Awesome Screenshot for Chrome, you can add arrows, circles and text to emphasize particular areas.
Do you have any other tips for using images or screenshots in your blog posts? Leave a comment below and let us know what works for you.
Corina Mackay is a social media manager and writer, working primarily in the arts and entertainment industries. Follow her on Twitter @corinamackay or visit her portfolio

